For example, to create a keyframe animation which you can use to rotate a gauge needle:
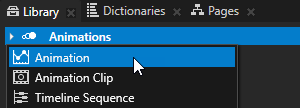
- In the Library press Alt and right-click Animations and select Animation.
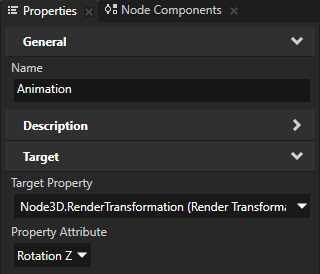
- In the Properties set:
- Target Property to Node3D.RenderTransformation
- Property Attribute to Rotation Z
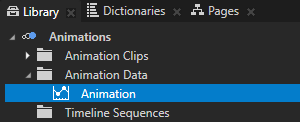
- In the Library double-click the animation you created in the first step to open it in the Animation Clip Editor and in the Animation Clip Editor use the Move tool
 to select the animation in the canvas area.
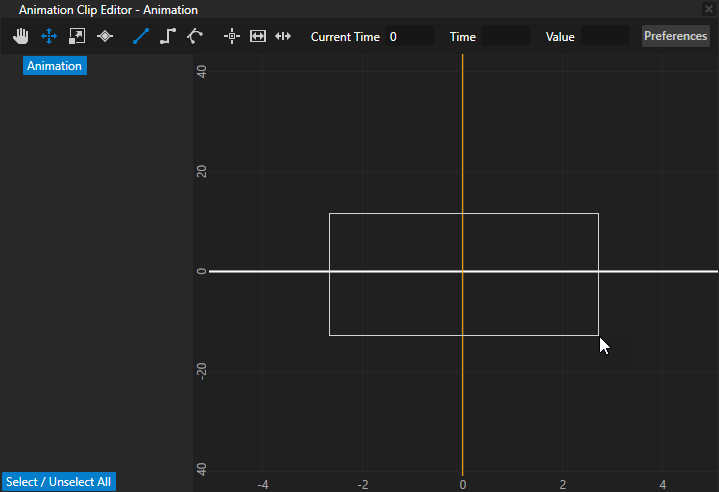
- Select the Keyframe tool
 and click the animation twice to create two keyframes.
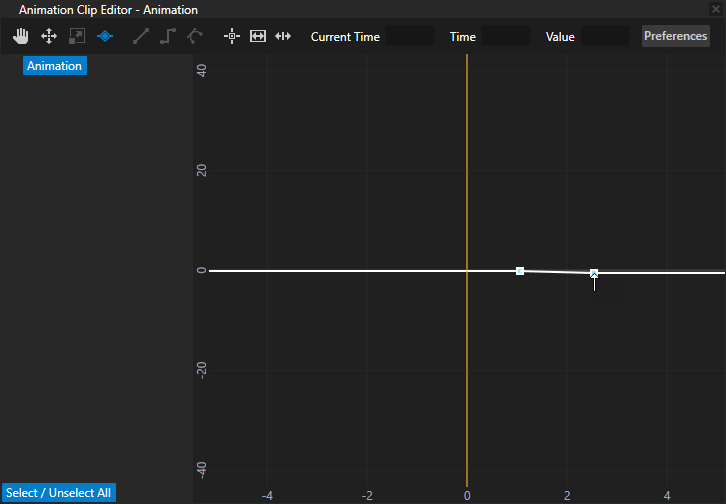
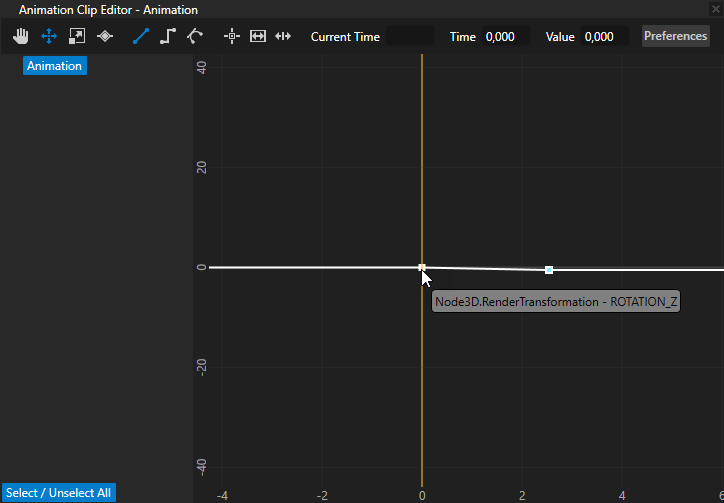
- Select the Move tool , select the first keyframe and set:
- Time to 0
In property driven animations you control the time of the animation with the Time Controller Property Type you select in the Property Driven Animation Player. You do this in the last step of this procedure. - Value to 0
In property driven animations you control the value of the property set in this animation with the Value property. In this example you control the value of the of the Node3D.RenderTransformation property, Rotation Z property field.
- Time to 0
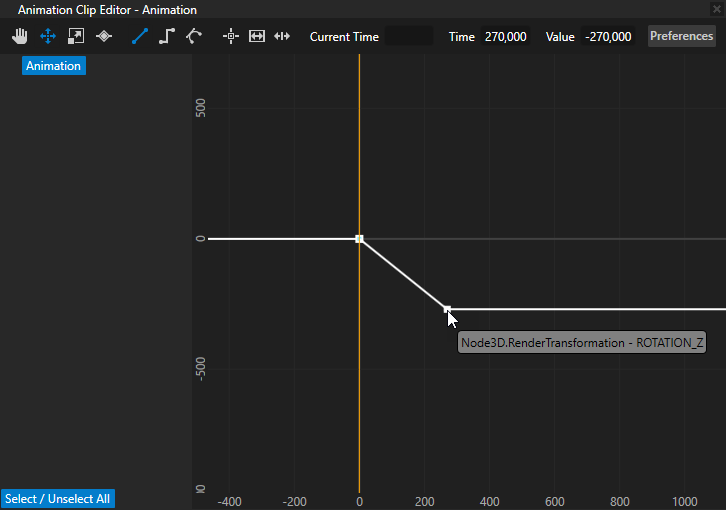
- Select the second keyframe in the animation and set:
- Time to 270
- Value to -270
When you set the value to -270, the animation rotates the gauge needle by 270 degrees in counterclockwise direction.
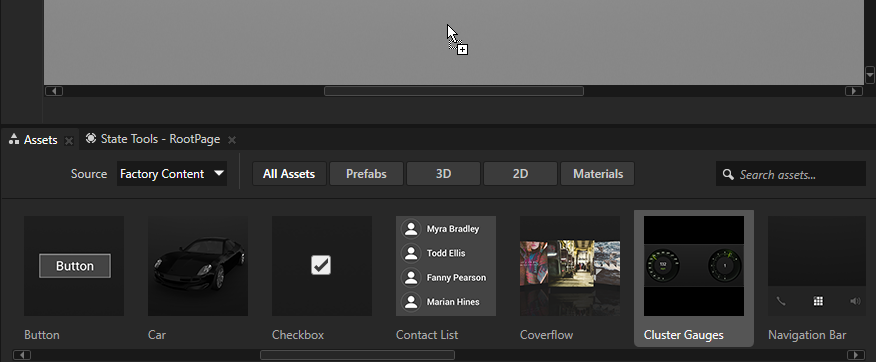
For example, in the Assets set Source to Factory Content, from the Assets drag the Cluster Gauges item to the Preview.
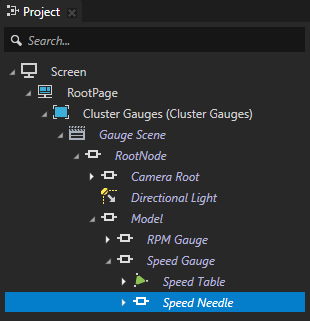
For example, in the Project select the Cluster Gauges > Gauge Scene > RootNode > Model > Speed Gauge > Speed Needle node.
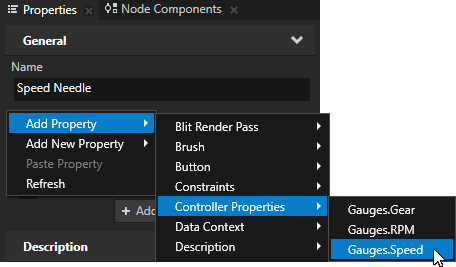
You must add the property with which you want to control the animation to the node where you use the Property Driven Animation Player. The Cluster Gauges factory content item already contains a Gauges.Speed custom property type.
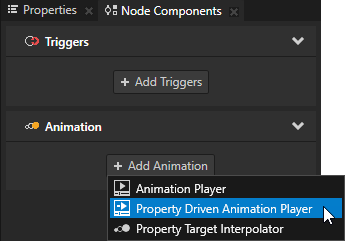
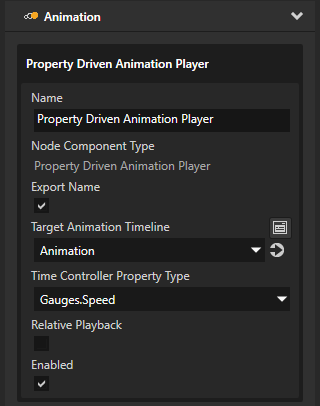
- Target Animation Timeline to the Animation Data, Animation Clip, or Timeline Sequence you want to use for this property driven animation.
For example, select the animation you created in the first step of this procedure. - Time Controller Property Type to the property type you want the animation to use instead of time.
For example, select the property type you use to control the position of the needle.